
- HBN-Step5-6.JPG (41.2 KiB) Viewed 44579 times
The line work is "over run" at the ends and then trimmed back to leave a sharp corner.
- HBN-Step5-7.JPG (35.27 KiB) Viewed 44579 times
This shows the "over run" ends after they have been trimmed back.
- HBN-Step5-8.JPG (30.79 KiB) Viewed 44579 times
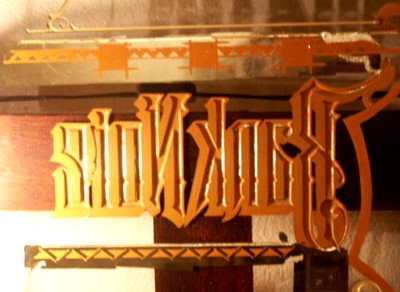
And, here it is from the front.
- HBN-Step5-9.JPG (42.58 KiB) Viewed 44579 times
Here it is from the front. The blemishes in the drop shade are really just reflections from around my studio.
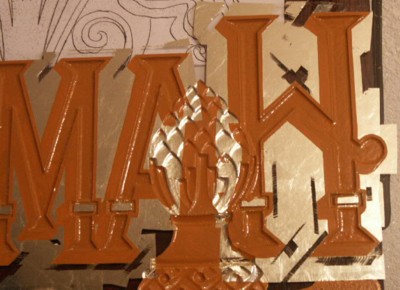
- HBN-Step5-10.JPG (59.75 KiB) Viewed 44579 times
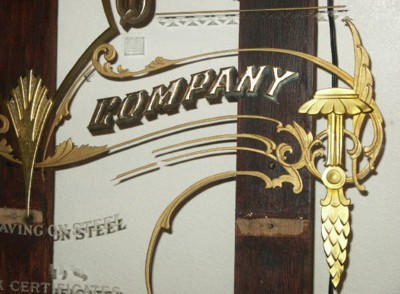
Next, a secondary drop shadow was added in in paladium leaf with much the same process, water gilded, backed-up, trimmed, and excess removed. This same drop shadow was also added to "Bank Note" and "Company" text.
- HBN-Step5-7.JPG (35.27 KiB) Viewed 44579 times
Step 6 - Finishing Sandcarved Scrollwork
- HBN-Step6-1.JPG (32.13 KiB) Viewed 44579 times
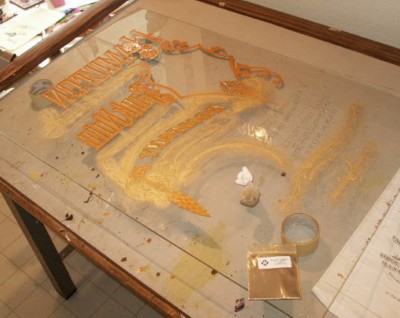
First, the sandcarved areas to be finished were sealed with a coat of Frog Juice. Next, I applied water based Wunda Size to the same areas. Using the Wunda Size, I can then back up the gild with any solvent based product and be ensured that the gild won't be compromised. After the size had set, I applied Sepp Leaf's Custom Gold (MN002) mica powder. I like to use a trick Rick Glawson taught me of putting the mica powder in a baby's sock as a pounce bag (it's in the picture) and pouncing the mica powder over the size. After a good application, the powder is dusted around with a dusting brush and the excess removed.
- HBN-Step6-2.JPG (38.93 KiB) Viewed 44579 times
I then backed-up the entire area with the mica powder mixed into Window Spar varnish. After doing so, I noticed it still wasn't 100% opaque, so I backed it up again with Decor ochre mixed with a touch of white One-Shot. After the paint was dry, I scraped off the excess at the edge of the sandcarving with a razor blade.
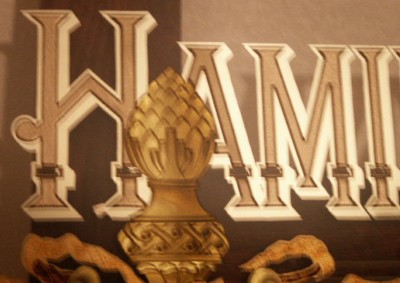
- HBN-Step6-3.JPG (45.74 KiB) Viewed 44579 times
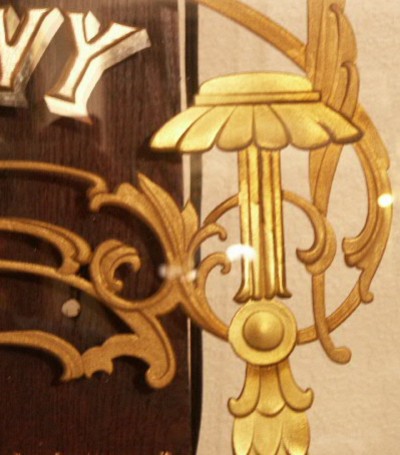
Here's a close-up.
Step 7 - Additional Ornamentation
- HBN-Step7-1.JPG (34.6 KiB) Viewed 44579 times
I water gilded over the acid etching with 18K lemon gold. Again, I over ran my back painting and went back and trimmed it to a sharp corner.
- HBN-Step7-2.JPG (49.92 KiB) Viewed 44579 times
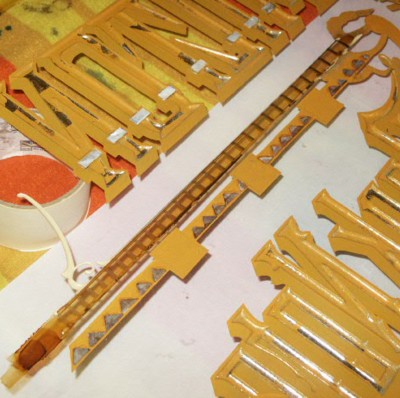
Here, in the strip between the two sandcarved lines, I painted in a graduated glaze of vertical stripes. I then sealed over the glaze with some tinted shellac.

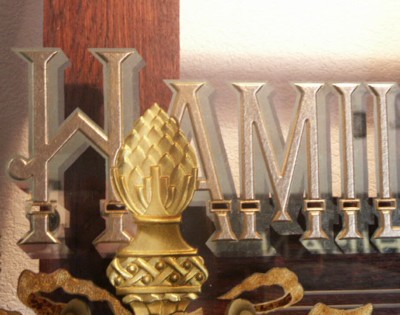
- HBN-Step7-3.JPG (40.57 KiB) Viewed 44579 times
I adhered Mother of Pearl pieces into the open rectangle ornaments of the word Hamilton. I also adhered individual triangles of Dark Tahitian shell in the strip next to the acid etching. It could have been done in one strip, but it's easier to get any air bubbles out with the smaller pieces. I then adhered a strip of Rippled Abalone shell over the tinted shellac area. All these areas of shell will be surface gilded with aluminum leaf so they can be painted over without losing their lustre.
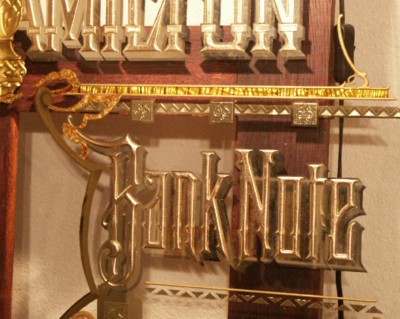
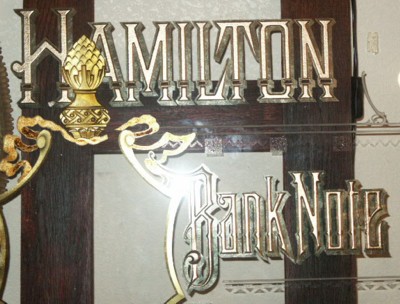
- HBN-Step7-4.JPG (43.13 KiB) Viewed 44579 times
Here it is from the front. The abalone strip won't appear so bright when the finished piece is under normal lighting conditions. Also, the glazed stripes didn't come out quite as pronounced as I would have liked, but I figured it wasn't worth reworking. Mainly because a portion of the abalone is adhered over the ribbon, and removing it could pull it up, then I'd really be going backwards.
This step-by-step is continued in Hamilton Bank Note reverse glass sign, Step-by-Step Part 4
 Denver Chapter of the Letterheads